I opened n8n for the first time and stared at it for 10 minutes, confused about where to start. The interface is simple, but nothing explains what you’re looking at. Here’s what you need to know.
What You’ll Need
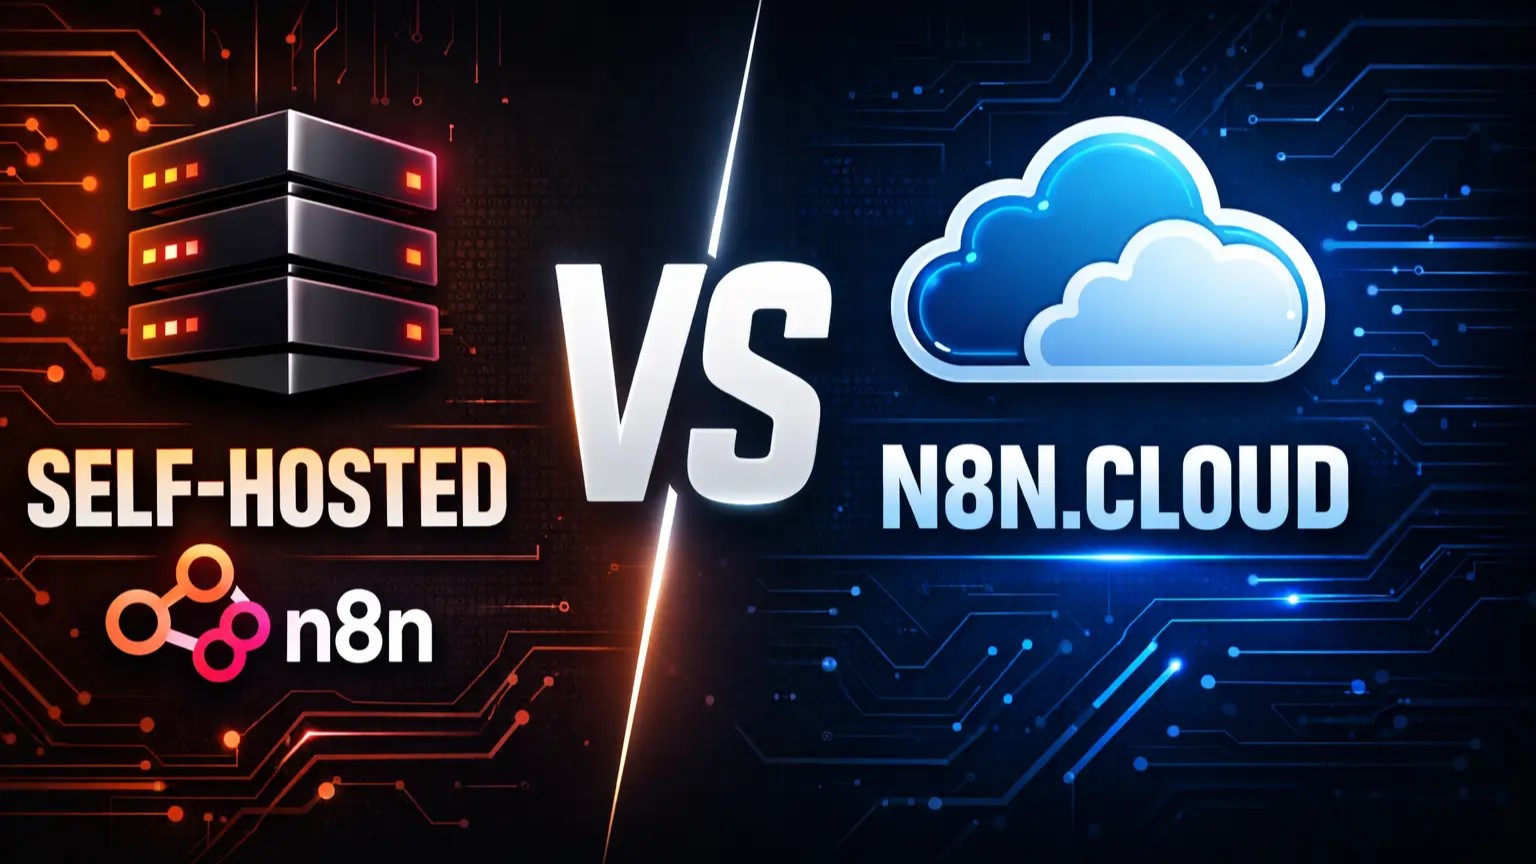
- n8n instance (self-hosted or n8n.cloud free tier)
- 10 minutes
- No prior experience needed
Skill Level: Complete Beginner
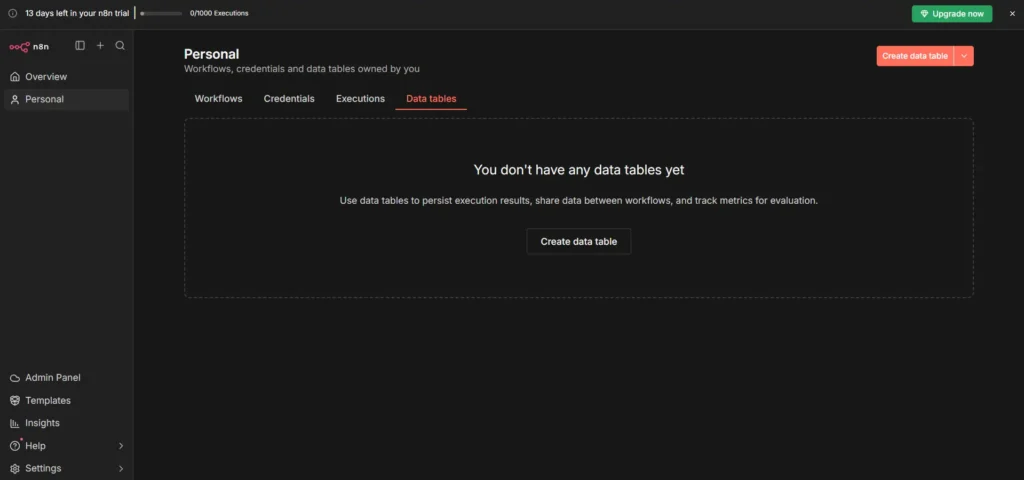
The Three Parts of n8n
n8n has three core areas:
- Canvas – Where you build workflows
- Nodes – Building blocks for automation
- Executions – Your workflow run history
That’s it. Everything else supports these three.
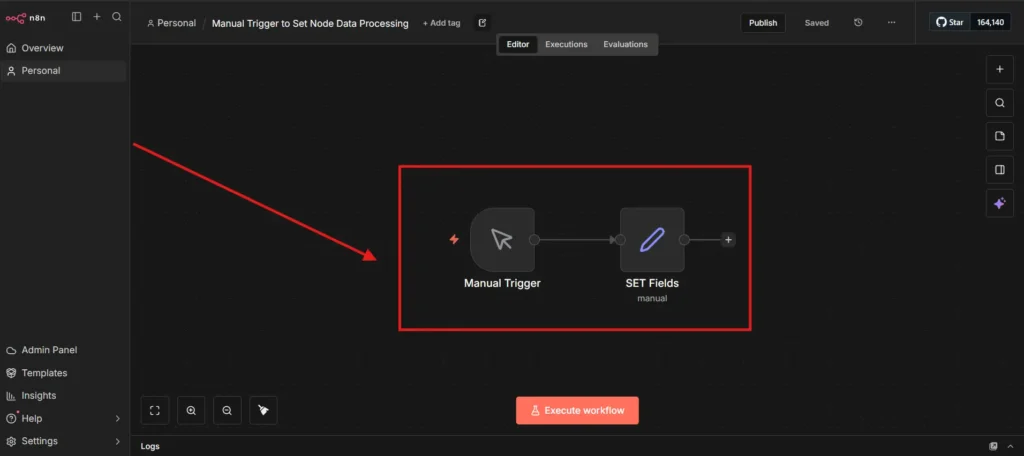
The Canvas
The Canvas is your workspace. It’s an infinite area where you drag nodes and connect them to create workflows.
What you can do:
- Zoom/Pan – Mouse wheel to zoom, drag to move around
- Add nodes – Click + or press Enter
- Connect nodes – Drag from one node’s dot to another
- Auto-saves – Your work saves automatically
What Are Nodes?
A node = one action in your workflow.
Examples:
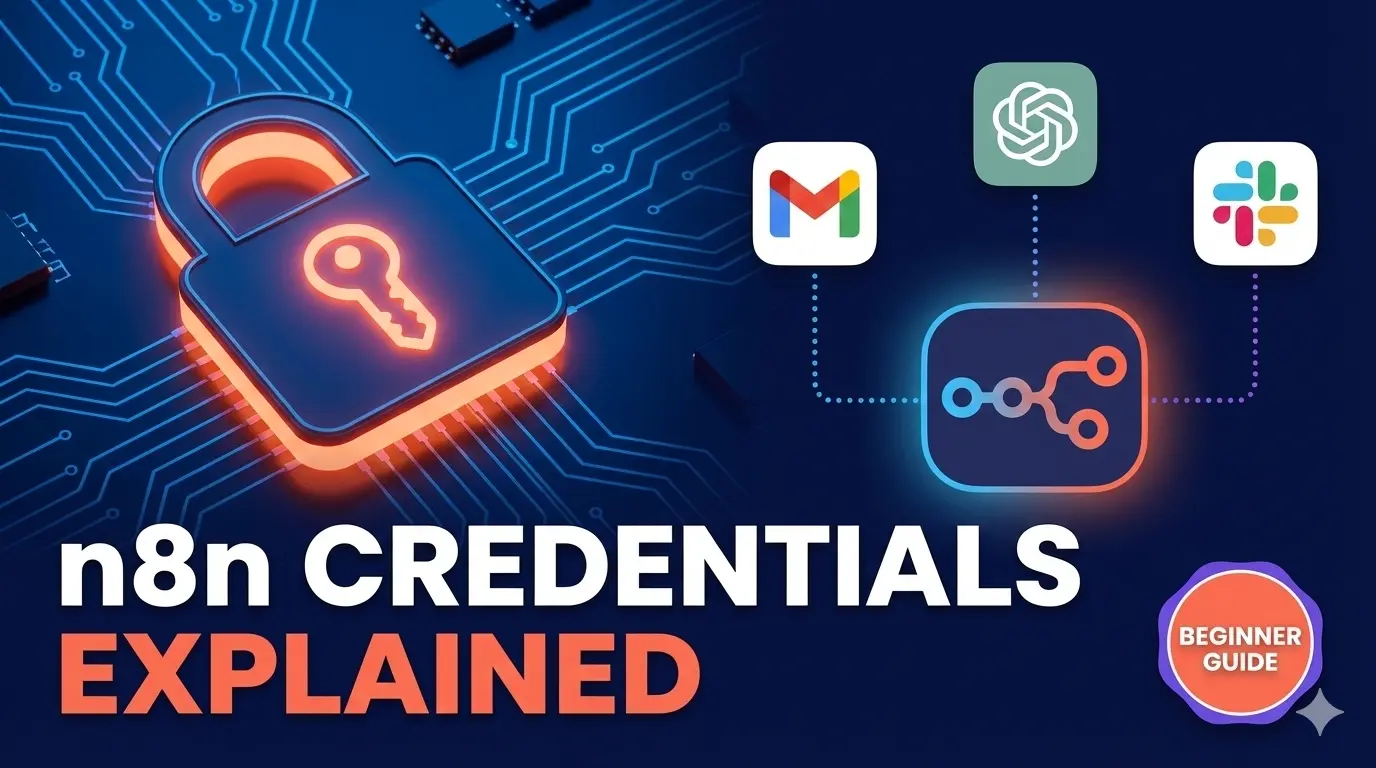
- Send an email (Gmail node)
- Post to Slack (Slack node)
- Get spreadsheet data (Google Sheets node)
- Run code (Code node)
You connect nodes together. Data flows left to right through your workflow.
n8n has 800+ nodes available. Can’t find what you need? Use the HTTP Request node to connect any API.
How to add a node:
- Click + on canvas
- Search for what you need
- Click to add it
- Click the node to configure it (settings appear on right)
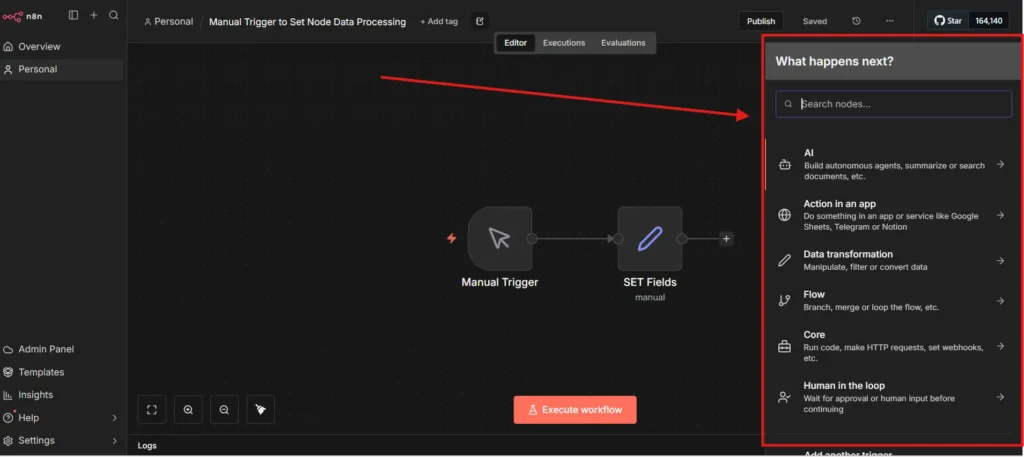
Types of Nodes
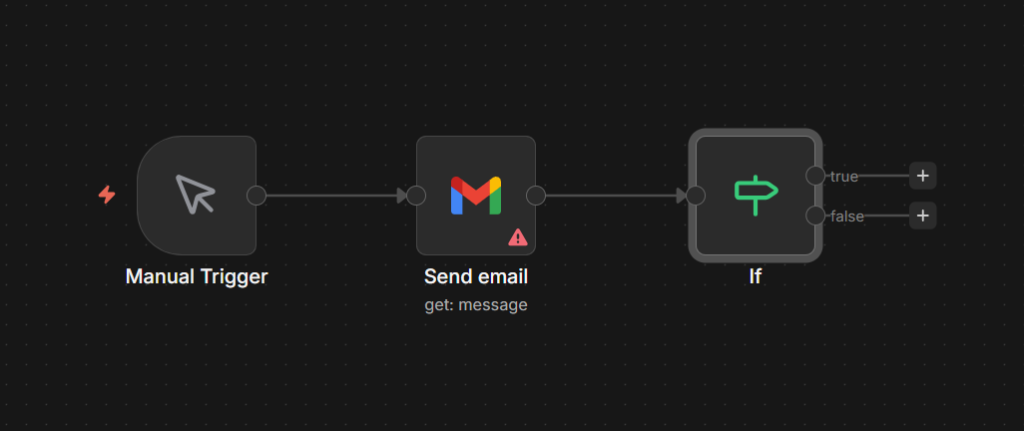
1. Trigger Nodes – Start your workflow
- Manual Trigger (you click Execute)
- Schedule Trigger (runs at specific times)
- Webhook Trigger (external services trigger it)
Every workflow starts with one trigger node.
2. Action Nodes – Do the work
- Gmail, Slack, Notion, Airtable, etc.
- These perform your actual tasks
3. Core Nodes – Built-in utilities
- IF node (conditional logic)
- Set node (transform data)
- Code node (custom JavaScript/Python)
The Executions Panel
This shows every time your workflow ran.
What it shows:
- Success (green) or failure (red)
- How long it took
- Data that flowed through each node
Click on any node to see what data it received and sent. This is how you debug workflows.
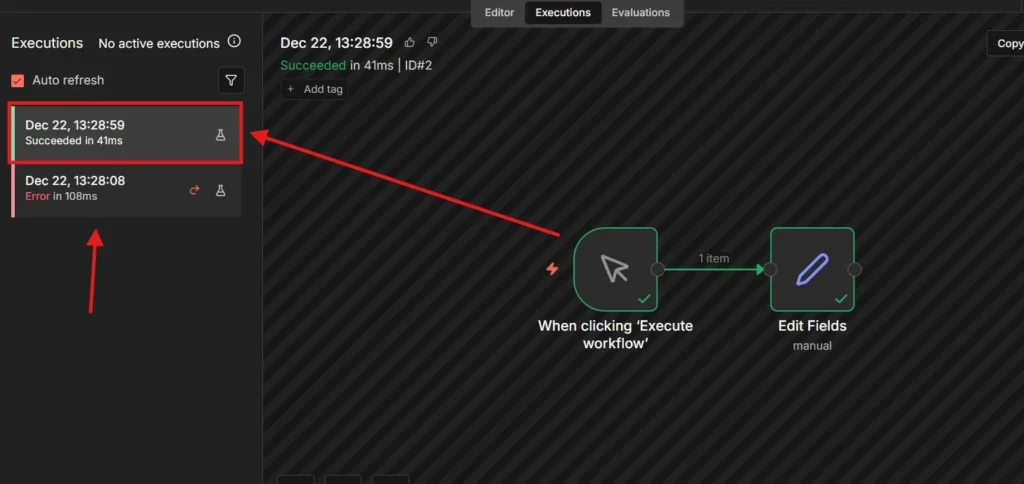
Execution History: Every run is saved. Click the executions list to see past runs. Filter by success/failure or date.
Quick Demo: Your First Workflow
Let’s build something simple.
Steps:
- Add Manual Trigger
- Click + on canvas
- Search “Manual Trigger”
- Add it
- Add Set Node
- Click + again
- Search “Set”
- Add it (auto-connects to trigger)
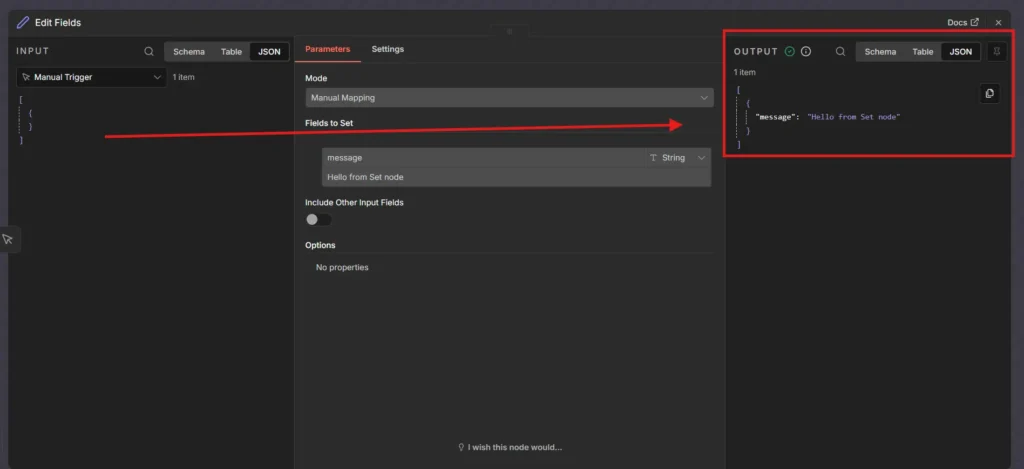
- Configure Set Node
- Click the Set node
- Add Value → String
- Name: “message”
- Value: “Hello from n8n!”
- Execute
- Click “Execute Workflow” (top right)
- Executions panel opens
- Both nodes turn green
- Check Results
- Click Set node in Executions
- See your data displayed
Done. You just ran your first workflow.
Common Issues
Node Panel Won’t Open Wait 2-3 seconds after clicking. If nothing happens, refresh (work auto-saves).
Can’t Connect Nodes Drag from the right dot of one node to the left dot of the next. Look for small connection dots on nodes.
No Data in Executions Go to Settings → Workflows → Enable “Save Execution Data”.
Canvas Feels Slow Close other browser tabs. Use mini-map (bottom right) for navigation.
Next Steps
You now understand Canvas, Nodes, and Executions. That’s the foundation.
Next tutorial: We’ll build a real email notification system that sends Slack messages when you get important emails.
Tips:
- Click around and explore – n8n won’t break
- Check Executions after every test
- Start with 2-3 node workflows
- Use templates to learn
The interface looks confusing at first, but after building a few workflows, it clicks.
Here is the full video guide on this blog post.
Resources: